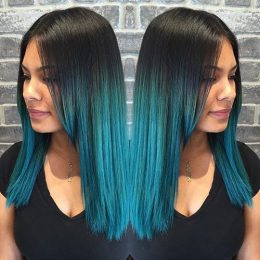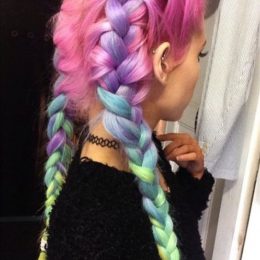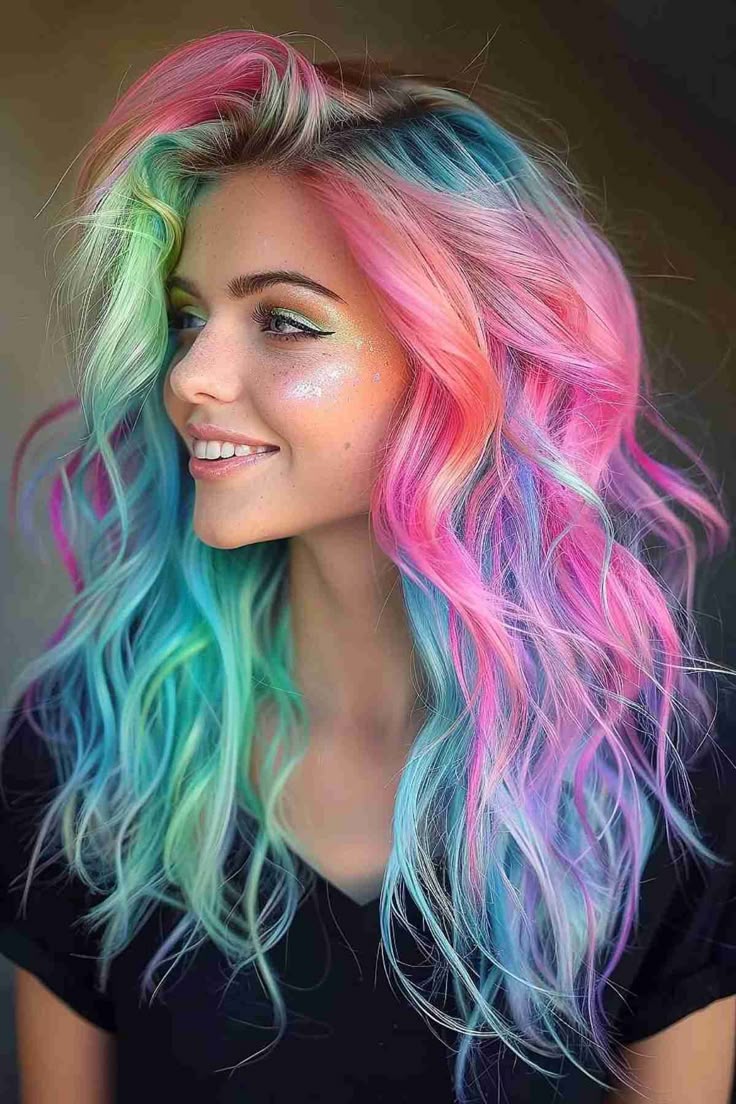
There is a widespread misconception in the world of beauty and personal care: we often believe that covering up our gray hairs with dye is the ultimate secret to looking younger. However, the harsh reality is that there are certain looks that age you instantly, and the most prominent among them is dry, over-processed hair with patchy, faded color. If you take a moment to observe youngsters, the most noticeable and enviable thing about them isn’t necessarily the specific color of their hair, but rather its natural, glossy, and undeniably healthy appearance.
In our desperate, ongoing efforts to turn back the clock and look younger, we can easily overdo the chemical treatments. The tragic result is often a head of dry, frizzy, or aggressively color-faded hair that looks significantly older than our actual age. In fact, this damaged, straw-like appearance looks far worse than simply leaving your hair naturally gray or white, provided that the natural hair is kept in excellent, hydrated condition and cut in a flattering, trendy style.
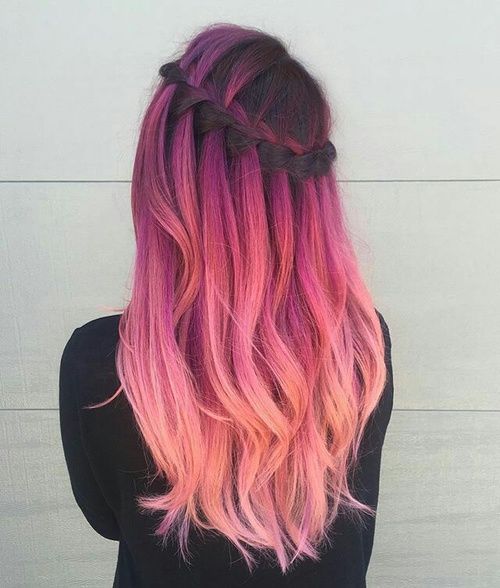
If you are someone who regularly spends your hard-earned cash at the salon on trendy all-over colors, intricate balayage, or vibrant highlights, it simply makes sense to protect that investment. To keep your hair looking fresh, youthful, and naturally beautiful, you need to brush up on your dyed-hair care skills. Here is a detailed, easy-to-understand guide featuring ten essential rules to keep your colored hair in absolute prime condition.
1. The 3-Day ‘Leave It Be’ Rule
When you leave the salon, your hair looks incredible, but the real work begins when you get home. The golden rule of hair coloring is to wait at least three full days (72 hours) after having your hair dyed before you even think about assaulting it with shampoo and hot water.
Why is this so important? The coloring process works by opening the hair cuticle (the outermost layer of the hair shaft, which looks a bit like shingles on a roof) so that the color can deposit inside. It takes up to three days for that cuticle layer to fully close and lock the new color in. If you wash your hair immediately, you are essentially washing your expensive new color right down the drain. Furthermore, stop washing your hair every single day. The more frequently you wash it, the sooner you will strip out that expensive hair color applied by your colorist. Embrace your natural oils for a day or two longer to keep the color vibrant.
2. Ditch Sulfate-Containing Shampoos
It is time to start reading the labels on your bathroom products. You must transition to using a shampoo and conditioner that is clearly marked “sulfate-free.” Sulfates (like Sodium Lauryl Sulfate) are harsh detergents used in many household cleaning products. In hair wash products, they are primarily included for one psychological reason: to create lots of rich, bubbly foam so that we feel like we are getting a luxurious, deep-cleaning experience.
However, this harsh chemical is totally unnecessary for daily cleaning. Worse, it aggressively strips away natural oils, vital moisture, and your expensive hair dye from hair that has already been made vulnerable by chemical treatments. If you want the gentlest possible option, consider using Baby Shampoo. By law, baby products are strictly regulated to prohibit the addition of harsh chemicals, making them a fantastic, gentle alternative for fragile, dyed adult hair.
3. Use a Conditioner That Contains Hair Color
Fading is the natural enemy of dyed hair, but you do not need to run to the salon every time your color loses its luster. A highly effective trick is to use a conditioner that has color pigments added to it. This keeps your hair dye gently refreshed each and every time you wash your hair.
Products like Crazy Color or L’Oreal Nutri-Color Crème are incredibly quick and easy to apply in the comfort of your own shower. The range of available colors on the market today is vast, meaning you can easily find a match for your specific shade. Because these products act as hair-stains rather than penetrating dyes, they do not add any more damaging chemicals (like ammonia or peroxide) to your hair. Simply leave the colored conditioner in your hair for three or more minutes after shampooing, and then rinse as normal. This effectively prevents that dreaded “faded” or brassy look, allowing you to go much longer between expensive salon visits.
4. Utilize Dry-Shampoo with Color
Washing your hair too often strips color, but what if your roots get greasy? This is where tinted dry shampoo becomes your best friend. Colored dry-shampoo is a brilliant quick-fix hair tip that soaks up excess oil and sebum at the roots without requiring you to subject your whole head of hair to water and detergent.
Beyond just absorbing oil, a tinted dry shampoo offers a clever dual purpose: it deposits a fine, colored powder that helps to seamlessly disguise gray or white root regrowth. This can easily buy you another couple of weeks of flawless-looking hair before you absolutely must book a root touch-up appointment with your colorist.
5. Don’t Double-Shampoo Dyed Hair
We have all read the back of shampoo bottles that instruct us to “lather, rinse, and repeat.” However, for those with dyed hair, this is a terrible idea. Washing hair with hot water forces the hair cuticles to open up, which flushes the deposited hair dye out and down the drain.
You should never wash your hair twice during a single shower session unless it is absolutely caked with heavy styling products like hair spray, gels, or muds. The entire concept of double-shampooing was largely popularized by shampoo manufacturers as a clever marketing ploy. Their goal was simple: get consumers to use twice as much shampoo as they actually need, thereby running out faster and buying more. For you, double-shampooing means a faded dye job; for the companies, it just equals double profit!
6. Heat Protecting Lotion is Absolutely Essential
Hot styling tools—such as flat irons, curling wands, and blow dryers—are hair dye’s natural enemy. Extreme heat rapidly evaporates the moisture inside the hair shaft, causing it to blister, crack, and snap. Therefore, it is absolutely essential to use a high-quality heat-protecting lotion or spray before any styling begins.
Heat protectants work by laying down a microscopic shield over the hair shaft. This barrier fills in the roughness caused by chemical dryness, giving the hair a much smoother, glass-like appearance while sealing in vital moisture. Additionally, you should seek out leave-in treatments that offer good levels of UV protection to avoid the fading of your hair dye caused by the sun. This protection is necessary regardless of whether you use hot tools or let your hair dry naturally.
7. Wear a Sun Hat
Speaking of the sun, UV rays act exactly like bleach on your hair. They break down the chemical bonds of your hair dye, turning rich brunettes into brassy oranges and vibrant blondes into dull yellows. If you plan to spend extended periods outside in sunny, bright weather, the absolute best and most foolproof advice is to wear a physical barrier, such as a stylish sun hat or a silk headscarf. There is simply nothing better or more effective for blocking the sun’s damaging rays if you do not want your expensive color bleached out and ruined by nature.
8. Re-evaluate Your Blow Drying Routine
Do you really need to blow dry your hair every single day? Blasting soaking wet hair with very hot air is incredibly damaging. When you do this, you are essentially boiling the water that has soaked into your hair—subjecting your fragile locks to temperatures much hotter than you would ever dare use to wash it!
While very thick or coarse hair may genuinely need help from a hair-dryer to prevent it from staying damp all day, finer hair types absolutely do not need to be speed-dried with high heat. Try minimizing your use of a hair dryer to just a couple of times a week, and whenever possible, leave your hair to air-dry naturally. Once it is mostly dry, you can gently style it with a low-heat hot-brush to smooth the cuticles. This gentler approach keeps hair color (even natural dyes like henna) in stunning condition without requiring the use of expensive chemical repair treatments.
9. The Worst-Case Scenario: When Hair Gets Fried
We are all human, we all make mistakes, and sometimes even the most careful among us ends up with severely over-dried, chemically burned hair. Perhaps you have experienced the ultimate hair disaster—like having a harsh perm left on for too long, followed by a moment of panic a few weeks later where you applied a harsh supermarket box-dye over your fine, fragile hair.
When your hair reaches this extreme level of dryness and breakage, synthetic salon conditioners might not be enough. The absolute best way to deal with this level of catastrophic dryness is sitting right in your kitchen: pure olive oil! Olive oil is packed full of incredible nutritional properties, including essential fatty acids, antioxidants, and vitamin E. These nutrients get deeply absorbed into your dry, brittle hair shafts to feed, hydrate, and repair the hair from the inside out. And contrary to popular belief, when used correctly, natural oils do not leave your hair looking lank, flat, or greasy.
10. The Ultimate Dyed Hair Repair Treatment
While other natural oils (like coconut, argan, or jojoba) are also excellent for the intensive care of dyed hair, you truly do not need to spend a fortune buying tiny bottles of expensive luxury products. Olive oil is the original, time-tested hair conditioner, utilized by ancient civilizations for thousands of years.
To perform a deep-repair treatment at home, start by dampening your hair slightly (oil absorbs better into damp hair than soaking wet or bone-dry hair). Apply the olive oil generously from the mid-lengths down to the tips, avoiding the very roots if your scalp is naturally oily. Once your hair is coated, twist it up and cover it securely with a plastic shower cap or a plastic bag. The plastic traps the natural heat radiating from your scalp, gently warming the oil and helping it penetrate deeply into the hair shaft.
Leave your chosen hair oil on for at least 30 minutes. For a really intensive, deep repair treatment, you can even sleep with it on overnight (just put a towel over your pillow!). When you are ready to remove it, wash it out using warm water and a generous helping of gentle Baby Shampoo. You may need to shampoo gently twice just to remove the heavy oil residue, but because you are using baby shampoo, it won’t strip your color. Finally, blot your hair gently with a microfiber towel (never rub vigorously, as this causes frizz) and leave it to dry naturally.
The trend for adventurous hair-dye colors, bright pastels, and complex highlighting techniques is growing rapidly every single year. It is a wonderful way to express your personality and style. Just make sure you follow these ten rules to keep your hair in great, healthy condition, ensuring that your color always looks fresh, vibrant, and incredibly youthful!